Assembly made easy as.
Every Easyshed comes with a full step-by-step assembly manual. No experience needed — just a few tools and a free afternoon or weekend.
Delivered to your own door, by our own team.
We don't use third-party couriers. Our own people and trucks to deliver directly to your home so someone who knows the product is with it every step of the way.
Wait for your delivery confirmation
Wait until your shed has been delivered before you lock in your build day. It makes the whole day run smoother when you know your shed is already on-site and ready to go.
Check all boxes before you start
Take a few minutes to tick off every component against the packing list before you begin. It sets you up with full confidence that everything you need is right there and the build can go ahead without a hold up.

Plan your build day.
2–4 People
You'll need a second set of hands to hold panels in place while you drill them together. Bigger sheds require more people — larger workshops and garages are much easier (and safer) with 3–4 people on site.
3–4 Hours
An experienced DIY-er could finish assembling a small Easyshed kit in 2 hours, but we recommend setting aside up to 4 hours or a couple days for bigger sheds depending on your skill level.
Check
Rules vary by state and shed size. Many small sheds are exempt — but confirm before you build.
Included
A printed manual is included in every kit. A digital copy is also emailed with your order confirmation.

Prepping your slab.
We recommend building your Easyshed on a rebated concrete slab to keep your shed steady and secure. Getting this sorted before delivery day means you're ready to build straight away.
- Concrete slab is the most common and recommended base
- Compacted gravel or pavers also work if level and well-drained
- Base must be level — even small gaps affect how panels align
- Check council requirements before pouring your slab
What to know before assembly.
Get prepared.
Know what to expect and when to expect it. Check out our pre-delivery day video so you can be as prepared as possible prior to your Easyshed's arrival.
Before you start, make sure you have the right tools on hand.
Most Easyshed builds only require a small kit of common tools. No special equipment needed — just the basics to get your shed up safely and securely. A full tool checklist is included in your assembly manual.
Tools you’ll need.

Need a hand assembling your Easyshed?
Easyshed has partnered with Airtasker to connect you with local, experienced shed assemblers near you.
- Local, vetted assemblers near you
- Competitive rates — get quotes from multiple taskers
- Reviewed by Easyshed Customers
- Book online in minutes
People like me have built this

Easy to Follow and Assemble
Nicely packaged, great instructions and easily assembled.
Bill O.
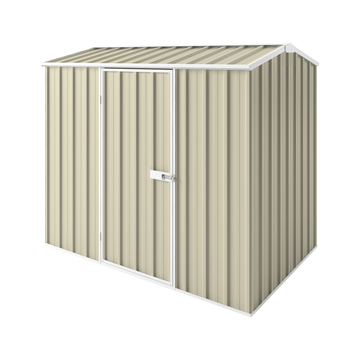

Very Happy with My Shed
My shed came in 2 well packed boxes, easy read assembly instructions and was assembled by my son in 3 hours. Very happy with how it looks.
Jo T.
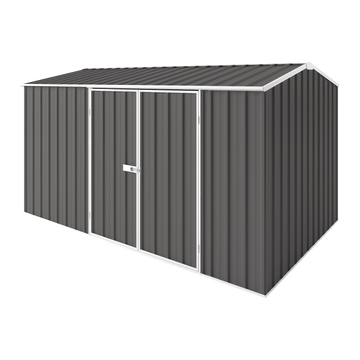

Right Price, Quality Product
Right price, delivered as advised and instructions were precise. A quality product.
Roman S.
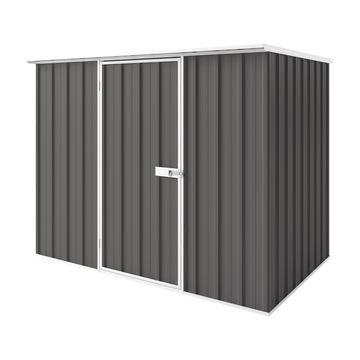

My Little Workshop
A pleasant little workshop and garden tools out of the weather. The assembly guide was great. Our family assembled the shed over two weekends.
Irene D.
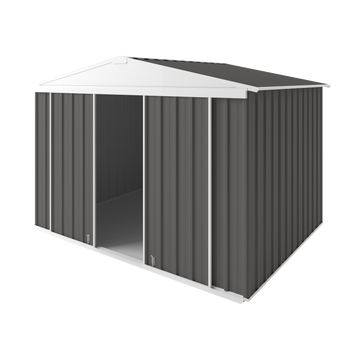

Clear Instructions, Easy Build
Thank you, easy shed like the name says it was easy. Instructions were clear. I would not hesitate to buy again.
Paul F.


Great Experience
Great shed, easy purchase, timely delivery, easy construction. Great experience.
Greg L.
Assembly FAQs
How long does assembly take?
Most Easyshed garden sheds take 2–4 hours with two people. Larger models like
workshops or garages may take a full day. Assembly times are listed on each product page.
What tools do I need?
A cordless drill/driver, tape measure, rubber mallet, and spirit level.
No pre-drilling required thanks to Easyshed's ScrewSAFE self-tapping screw system.
Do I need a concrete base?
A level, solid, well-drained base is required. Concrete slabs are most common, but
compacted gravel or pavers also work. Check your local council requirements first.
Is the assembly manual included?
Yes — a full printed assembly manual is included in every Easyshed kit. A digital copy is
also available from your order confirmation email.
Can I assemble my shed by myself?
While possible for smaller sheds, we strongly recommend at least two people. Bigger
sheds benefit from 3–4 helpers on site.
Do I need council approval?
Rules vary by state, council, and shed size. Many small sheds are exempt. Visit our Council
Approval page for a state-by-state guide.