


Installing a DIY shed kit might sound intimidating, but the reality is far less dramatic. With the right preparation, tools, and a bit of patience, most shed kits are absolutely achievable for those looking to take the DIY route.
This guide will walk you through the general process of installing a DIY shed kit: from choosing the right shed, to locking in the final screw.
Note: This isn’t a substitute for your specific assembly manual, but it’s the big-picture roadmap, so you know what to expect before your kit arrives.
Step 1: Choose the Right Shed Kit
Before you build anything, you need the right shed for your space and your needs.
Start with purpose. Are you storing garden tools? Parking a mower? Setting up a workshop? The answer helps you decide what size, roof style, and door placement would suit you best.
DIY shed kits are ideal for most homeowners because they’re pre-cut, labelled, and designed to be assembled without specialised tools. Easyshed kits come in a wide range of sizes, roof designs, and colours, making it easier to match your shed to both function and backyard aesthetics.
Pro Tip: A larger shed requires a larger, level base, usually a concrete slab. If your yard is sloped, uneven, or difficult to access, that massive shed might be more trouble than it’s worth. Plan the foundation first, then choose the shed.
Every Easyshed kit includes recommended rebated concrete slab dimensions specific to the model. You can also request these details before ordering if you want to confirm feasibility upfront.
Step 2: Prepare Your Site and Foundation
A shed is only as good as what it’s sitting on.
A concrete slab provides a solid, level base that prevents shifting, twisting, and long-term structural issues. This is especially important if your shed will house heavy equipment or be used as a workspace.
Check out our Having a Shed on a Concrete Slab blog for more info.
Step 3: Get Ready Before You Build
If you’re not building the day your shed kit arrives, make sure you’re storing it in a secure and dry location.
When it’s time to build, have a clear and open space ready so you can lay out all the components. It's way easier to make sure you have everything you need when it’s all neatly laid out in the open
Pro Tip: Many shed kits can be assembled solo, but roof panels and larger models are much easier and safer with help. Calling in a mate or two will not only speed things up, it will also make for a great outdoor activity. It’s also a great way to usher in some family time and get the kids involved in a hands-on project!
Step 4: Assemble the Panels
Most shed kits are built panel by panel before anything is ready to stand upright.
Wall Panels
Wall panels are assembled by overlapping sheets and securing them with channels and flashings. Channel joiners are inserted first and not screwed until the panels are correctly positioned. Follow your manual closely here. The system is simple, but order matters.
Roof Panels
Roof assembly depends on your shed style:
- Gable roof sheds require two panels and a ridge beam
- Skillion of Flat roof sheds have a single panel
Assemble roof sheeting and components on a flat surface according to the instructions before installation.
Step 5: Assemble Doors and Front Panel
Doors require extra attention as misalignment here leads to doors that stick, rub, or refuse to close. Door instructions are model-specific, with left and right components clearly marked. Take your time and double-check measurements before fastening channels and jambs.
Most kits include padbolts and hasps with optional padlocks available separately.
Step 6: Install the Walls
With all panels assembled, it’s time for your shed to rise.
Lay panels exterior-side down around the slab. Start by lifting two adjacent walls and fastening them together where they overlap. Continue until all four walls are standing.
Step 7: Install the Roof
Important: DIY kits usually have non-trafficable roofs. While solid, they are not made to withstand the weight of a person, so DO NOT climb directly on the roof.
Using a step ladder, position the roof panels according to your shed design.
Before fully fastening, recheck measurements and ensure everything is aligned. Once confirmed, secure the roof panels, ridge beams, and apex brackets (if any).
Final Step: Secure the Shed to the Base
With the structure complete, anchor the shed to the concete slab as per the instructions. This final step ensures stability and helps improve wind resistance.
Now, take a step back. You’ve just built a shed!
You’re Ready to Build
Installing a DIY shed kit is a manageable project with the right preparation and a methodical approach. Just remember to take your time, follow the instructions, and don’t rush the foundations or alignment steps.
Explore our range today and start building your own space!
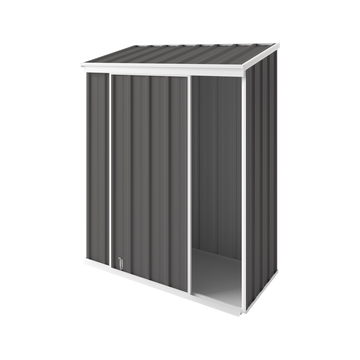

1.5m x 0.78m
Narrow Slider Shed
$788
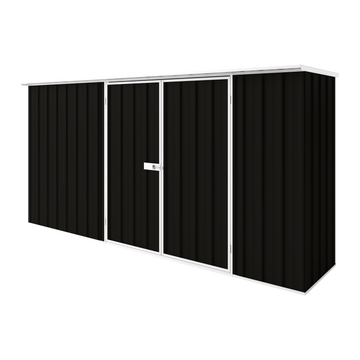
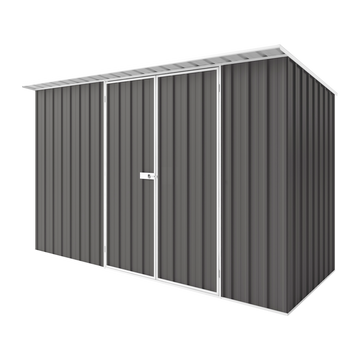
3.75m x 0.78m
Flat Roof Shed
$1,333
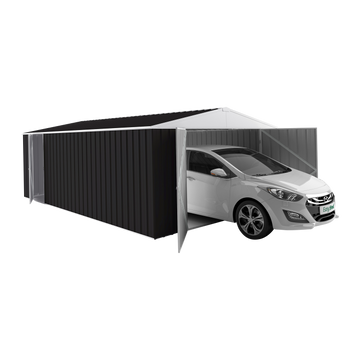

3.75m x 4.5m
Garage Shed
$3,571
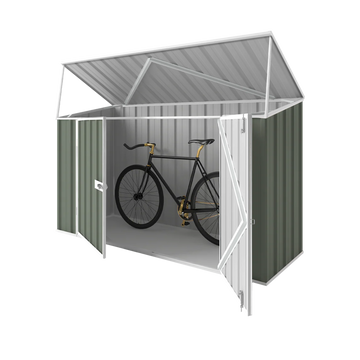

2.25m x 0.78m
Bike Shed
$746

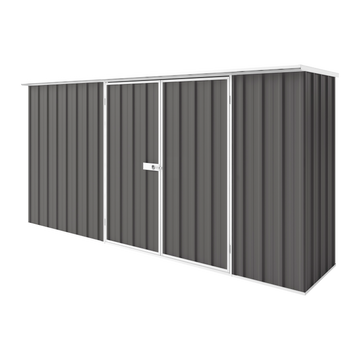
3.75m x 1.5m
Skillion Roof Shed
$1,330


3m x 1.5m
Gable Roof Shed
$1,147


